Freitag, 15. Mai 2015

busy bee

So it´s been a while since my last blog entry but there are so many things that kept me busy during the last couple of weeks. With our 1st wedding anniversary and WGT just around the corner I suppose there won´t be any entry for the next two weeks, either. I´m sorry for that but to give you an impression that I´m still productive and creative I decided to show some work-in-progress pics of what I´m currently working on.


#1 Victor & Victoria drawing


#2  head piece for victorian picnic

#3 Mixed Media Painting with lots of Marabu Mixed Media goodies


#4 some more pencil on wood drawings


#5  "Zengirl" drawing - experimenting with zentangle & watercolors


#6  enjoying spring and spending time in my garden


More Pictures of the finished pieces and of course from WGT will be coming soon. If you are interested in more work in progress stuff and want to be up-to-date what´s going on in my life you can always follow me on instagram.

Hugs!

Dienstag, 14. April 2015

strange how it pierces my heart

last week, the new Gorjuss stamp designs arrived in our craft store and I simply couldn´t resist to play with some of them. So here´s the first design embedded into an art journal page.


Supplies: white gesso, matte acrylic medium, old book pages, Gorjuss stamp "dear Alice", Caran d´Aches Neocolor, Pébéo iridescent acrylics, Lindy´s Stamp Gang sprays (black orchid silver & midnight rendezvous raven), Finnabair stamp, Mikron liner, masking tape


Sonntag, 12. April 2015

get lost

Here´s a quick art journal page I made a few days ago. One about a passion, maybe already an obsession of mine: books. Since I learned how to read books became my faithful and entertaining companions. I love losing myself in fantastical, dramatical and even documental stories (but fantasy beats them all). Besides, I simply need to be surrounded by books whether they´re new, old, damaged...I don´t care as long as I can feel the soul of the book. I even decided to use all the open shelves in my craft room to display my books like in a libary so I can see them while being creative. All my crafting supplies are mostly invisibly stored in drawers and under my desk.


"We lose ourselves in books, we find ourselves there too."


Supplies: masking tape, white gesso, Finnabair stencil "bubbles", Finnabair modeling paste, Tim Holtz Sizzlits "birds in flight", Lindy´s Stamp Gang sprays "frosty forest green"/ "clam bake beige", soft pencil


Donnerstag, 9. April 2015

believe in something absurd

Another page in my art journal.
And the perfect example on how a mistake or - or better said a plan that didn´t turn out the way you wanted it to be - can lead you to something totally unexpected.

What I wanted to try creating was the so called Bokeh effect. What I found out instead was that white gesso crackles when applied on a coat of Prima Color Bloom sprays. Funny, isn´t it. After that exploration I decided to complete the page in a slightly different way then intended before. That´s one of the great advantages when working, and more importantly experimenting, in your art journal. You never know, where the art journey leads you to.

And here´s what I ended up with:


 here´s a good view on the delicate crackles


Supplies: white gesso, Finnabair modeling paste, Finnabair stencil "bubbles", Prima Color Bloom sprays "empress gold"/ "summer sky"/ "deep teal", Silks "solar gold", Dylusion stamp, soft pencil


Mittwoch, 8. April 2015

it´s time for an 18th century dress

With the upcoming WGT in mind, it´s time to think about a new dress - yay!
At the moment I´m not quite sure, about the style. The only thing I know for sure is that it´ll be a deep midnight blue which goes perfectly with my ginger red hair. Stay tuned for more infos and detailed photos of the process.

Meanwhile I´m showing an older dresss, that I made for last years German Vampire Ball. As base I used the pattern for a 1770-80 polonaise gown you cand find in Janet Arnold´s Patterns of Fashion I.


I simply love how versatile this pattern is even when not worn in polonaise style but with the back left straight. The first dress I made with this pattern was done two years ago, to be worn at a victorian picknick which became a part of WGT. The richly stitched fabric in a soft ivory color was perfect for such an occasion. But this time I wanted it to be a bold black with lots of tulle.


 the pretty little bow behind the brooch as well as the sash were made of a beautiful two-tone tafeta (black/ deep emerald green)

  
Underneath the dress I wore my18th century stays and two petticoats.


all photos were taken by the fabulous and super talented Lilif Ilane.
Please make sure to visit her on facebook and enjoy all of her incredible artwork.

And now I´m off to work on some mixed media stuff, again.

Montag, 6. April 2015

rise & shine

...today I have an art journal spread for you.

I wanted to do something shiny in lustrous golden colors. Prima´s golden color bloom sprays together with some Finnabair mica powders where the ideal companions for this task. Unfortunately the pictures can´t capture the depths of the beautiful shimmer.


and again, some handwritten journaling
 

Supplies: white gesso, Prima stencils ( Finnabair "lace" & "dots & stripes"), Prima modeling paste, micro beads, gel medium, Finnabair stamps, Tim Holtz idealogy metal pieces, Prima color bloom sprays (gold foil, empress gold), mica powder (brown, gold), silks (nutmeg), soft pencil, 7Dots Studio word stickers

Have a great and creative easter monday!

Mittwoch, 1. April 2015

the wedding dress

Hello my dear followers,
today I´d like to share with you some photos of a dress I made nearly one year ago - my wedding dress.
I know, the bride shouldn´t make the dress herself, but you know I had that special picture in my mind on how the dress should feel and fall and that it should be a victorian dress but not exactly the cut and details. Normally those things appear during the sewing process. That´s what I learned through all the dresses I made so far. That´s why I didn´t choose to buy a dress, nor to have it done by a seamstress. And I´m really glad with that decision. Sure it was a pain in the a.. to sew a dress while preparing and organizing all the other things for a wedding but I´m sure, I´d do it again the same way I did.

But set aside the long talk. I´m sure you want to see pictures. And here they are:
All photos were taken by the sweet and very talented Susann Hehnen from apicco frotografie & design


  these pleats took me forever but I looooooove them


supplies: ~10m ivory tafeta, ~15m ivory tulle, 2m taupe tafeta, 1m lace, ~20m ivory cotton, 1m white silk for the corset, boning, brooch, lots of cord for lacing the corset and bodice

Dienstag, 31. März 2015

Prima BAP march

...got it ready just in time: my entry for the Prima BAP march challenge. I really enjoyed playing with that sketch.


 details...


Supplies: white cardstock, papers from sunrise sunset collection, Prima color bloom sprays (soft teal, empress gold), white gesso, black gesso, Finnabair art basics modeling paste, Prima elements stencil "lace", Prima clear stamp "messy", silks (solar gold), word sticker (simple stories), black and teal thread

Sonntag, 29. März 2015

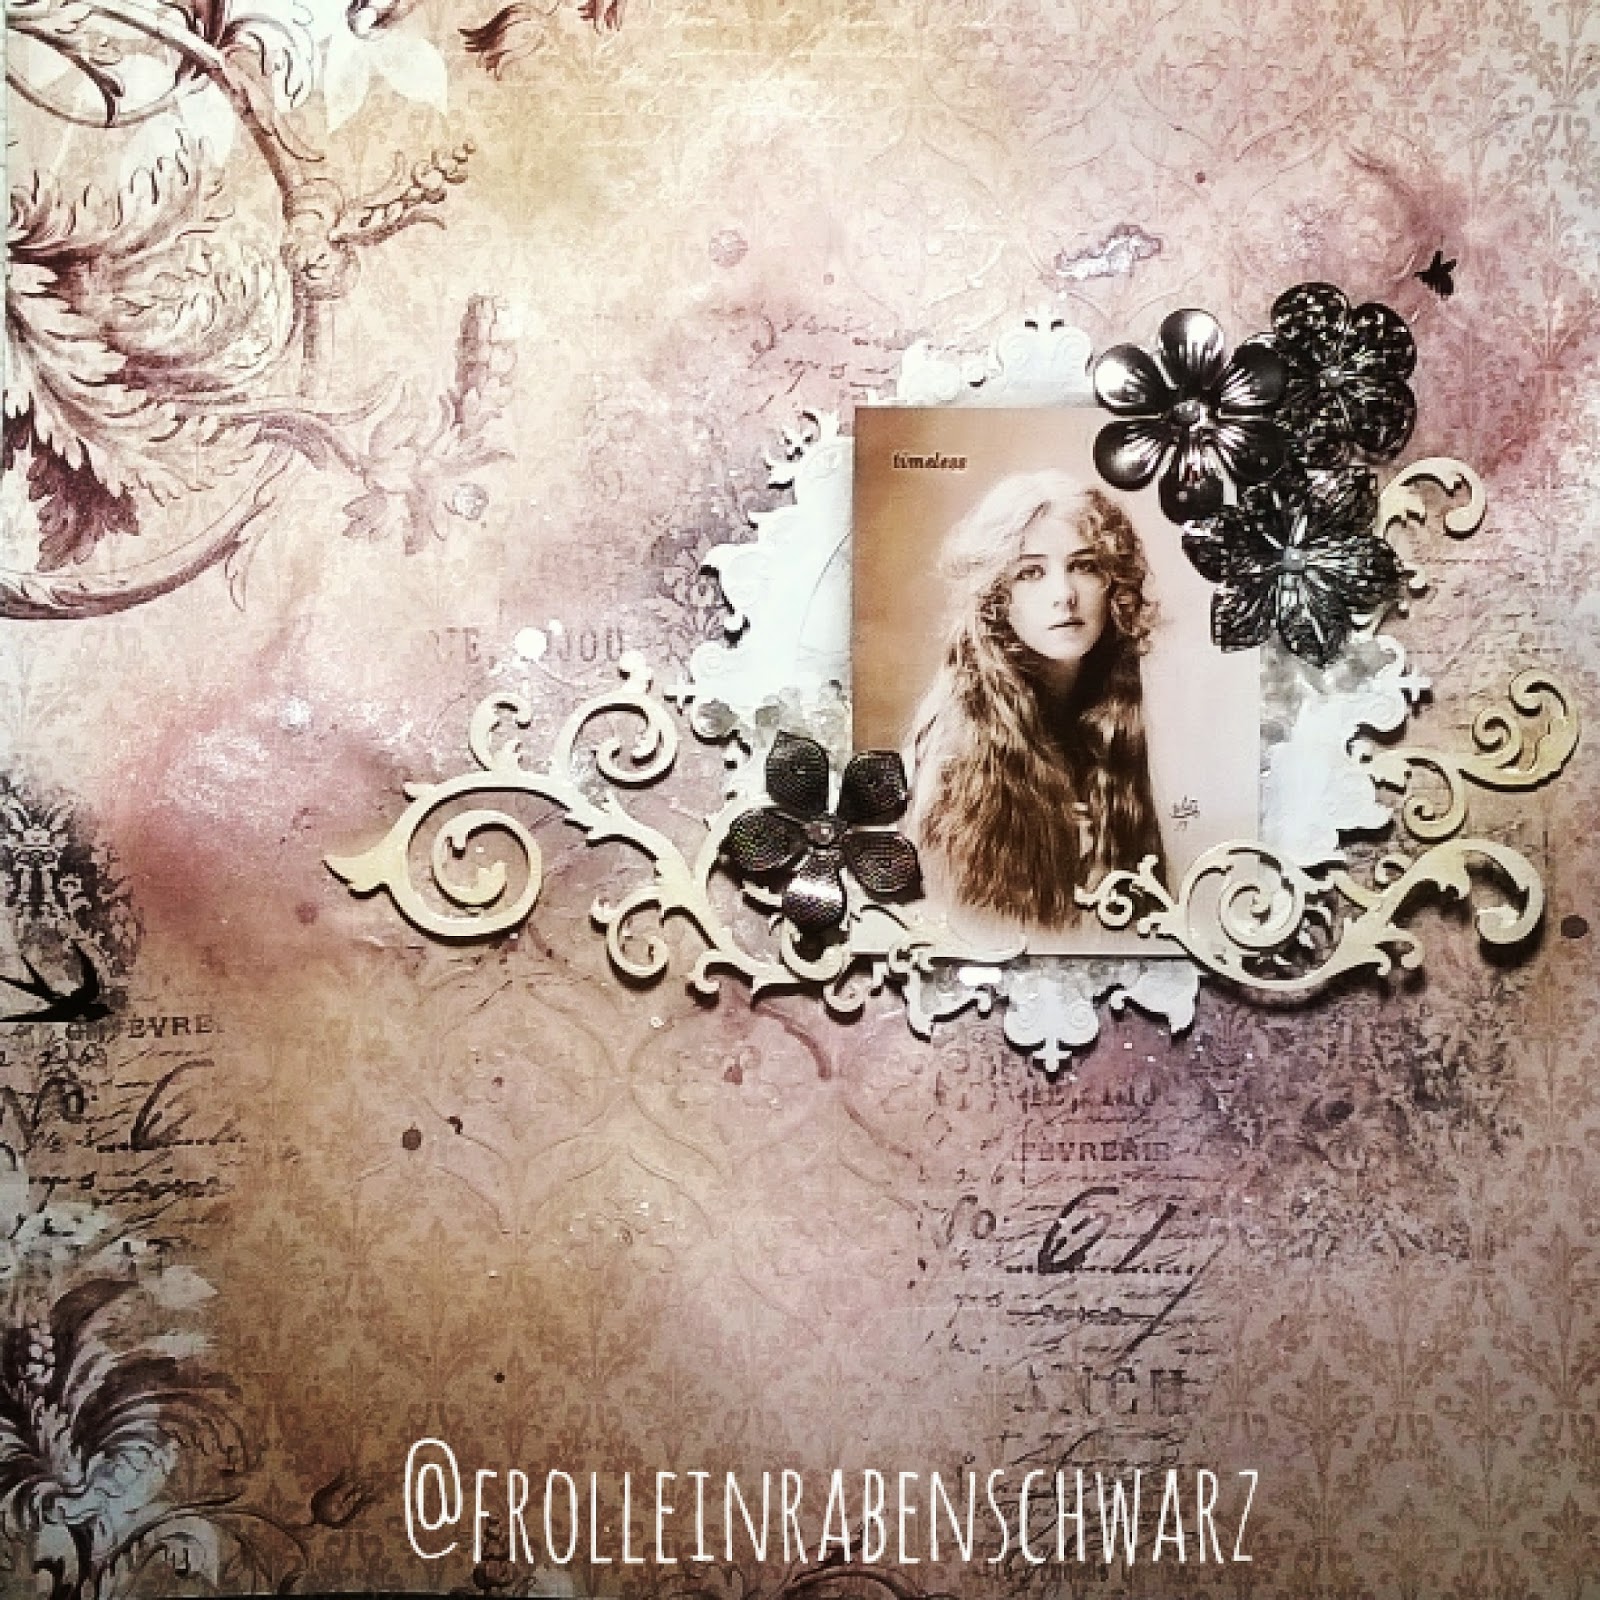
timeless


...besides all the gardening stuff and other things we have to get done in the backyard, I found some time to create this layout, today. It´s a sample I did for the shop I´m working at, using beautiful BoBunny paper, stickable stencils and wooden shapes as well as some metal flowers.


some details


Supplies: BoBunny paper (Rose Café collection), stickable stencil, wooden shapes, metal flowers, Prima mica flakes, Prima modeling paste, white gesso, Lindy´s Stamp Gang sprays (bodacious blush & clam bake beige), Ranger crackle accents, Tim Holtz rubons & background stamps, Copic opaque white, watercolor pencil

Have a great sunday!

Samstag, 28. März 2015

PPP march with photo tutorial

Today I´d like to share with you a photo tutorial on how I made this soft bridal Layout for the current Prima Product Pick challenge


Ok, so grab a cup of tea (or coffee) and lets get started...


 1. On a white piece of cardstock that I roughly primed with white gesso earlier, I applied a moderate layer of modeling paste through a floral stencil and gave it a good drying time with a heat tool. Then I played with Color Bloom sprays and water without going too wild. Let it dry again.


 2. While the page is drying I also put some spray on the flowers to match them with the color scheme. In the next step I assembled some paper scraps in order to prepare a nice layered background for the photo.


 3. Before adhering the paper collage to the layout I spread some white thread underneath. Now it´s time to add the photo and some more paper pieces on top.


 4. A small arrangement was also added to the upper right corner of the page. Now it´s time to arrange all the shiny flowers.


 5. To add some more bling and detail I chose black beads and frosted mica flakes here and there with acrylic matte medium.


 6. I spritzed some white spray dots with Lindys Stamp Gang "frosted Jack Frost" but decided it didn´t pop out as much as I wanted. So I grabbed a nearly forgotten "oldie": Copic opaque white which worked perfectly. The title is written and cut out by hand. Et voilà, we´re ready.


I hope you enjoyed this little step through and maybe you feel inspired to get creative as well. 

If you have any further questions, please let me know via the comment section.